Live demo - Demo
Code for this tutorial can be found on Gitlab
What is Svelte?
Svelte is a new way to build web applications. It’s a compiler that takes your declarative components and converts them into efficient JavaScript that surgically updates the DOM.
Svelte is different from traditional component frameworks like Vue or React because it is essentially a compiler that converts your code into vanilla JavaScript at build time. This allows you to create reactive components without the performance overhead of the Virtual DOM.
You can read more about them on their website Svelte
Setup
Like all great tutorials, today I’ll be showing you how to make a ToDo application using Svelte.
For this tutorial we’ll be building on the Svelte boilerplate and we’ll need degit for that so start by installing degit using
npm install -g degit
Then we install the boilerplate and install all the dependencies.
npx degit sveltejs/template svelte_tut
cd svelte_tut
npm install
To run the dev server run
npm run dev
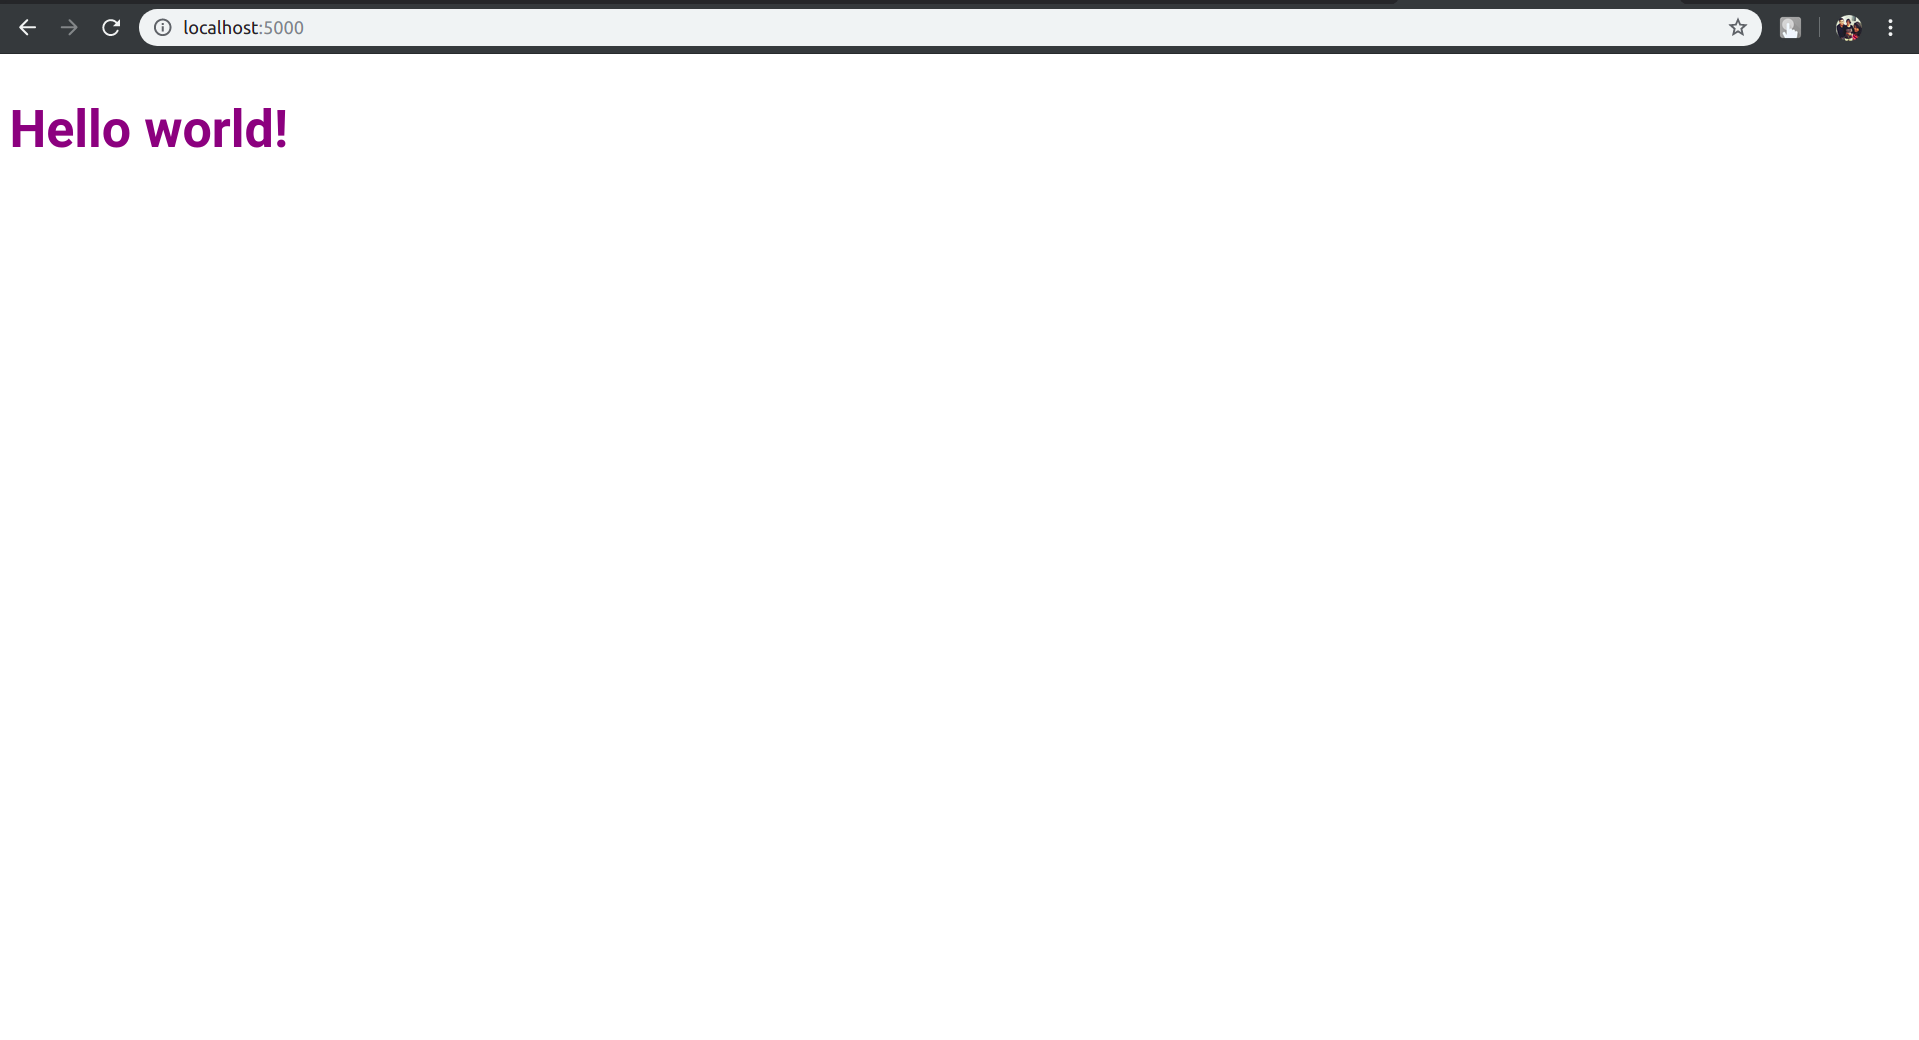
Then open http://localhost:5000, you should see something like this
Making the app
Open src/App.svelte and replace the code that was there with
<script>
   // Variable to store user input
   let task = "";
   // Array to store tasks
    let todos = ["eat", "sleep", "code"]
</script>

<style>

</style>
We can use Svelte to bind the variable task to an input element, and add a function to push a new element into the array whenever we press a button.
<script>
   // Variable to store user input
   let task = "";
   // Array to store tasks
   let todos = ["eat", "sleep", "code"]

   function addTask() {
       // Dont add something if the input value is empty
        if(task!=""){
           // Push a new task to the array
           todos.push(task)
            task = ""
        }
    }
</script>

<style>

</style>

<!-- The value of task will now change when you type in the input
because the task variable is now bound to the input value -->
<input bind:value={task}>

<!-- when the onclick event is triggered it calls addTask -->
<button on:click={addTask}>Add Task</button>
Now using a loop, we’ll display all the elements in tasks array as a list and we’ll add a method to remove elements from the array by selecting the checkbox next to it.
<script>
let task = "";
let todos = ["eat", "sleep", "code"]
function addTask() {
if(task!=""){
todos.push(task)
// The DOM is only updated when an assignment is made so this
// code below is needed even though it may seem redundant
// Otherwise the list of todos won't update when we add a task
todos = todos;
task = ""
}
}
function removeTask(index) {
todos = todos.slice(0, index).concat(todos.slice(index + 1));
console.log(index);
}
</script>
<style>
/* remove bullets from list */
ul {
list-style: none;
}
</style>
<input bind:value={task}>
<button on:click={addTask}>Add Task</button>
<ul>
<!-- For each element in the array, create a new list element -->
{#each todos as todo, index (todo)}
<li>
<!-- When the checkbox is ticked the item is removed from the todos array -->
<input type=checkbox on:click={() => removeTask(index)}>
{todo}
</li>
{/each}
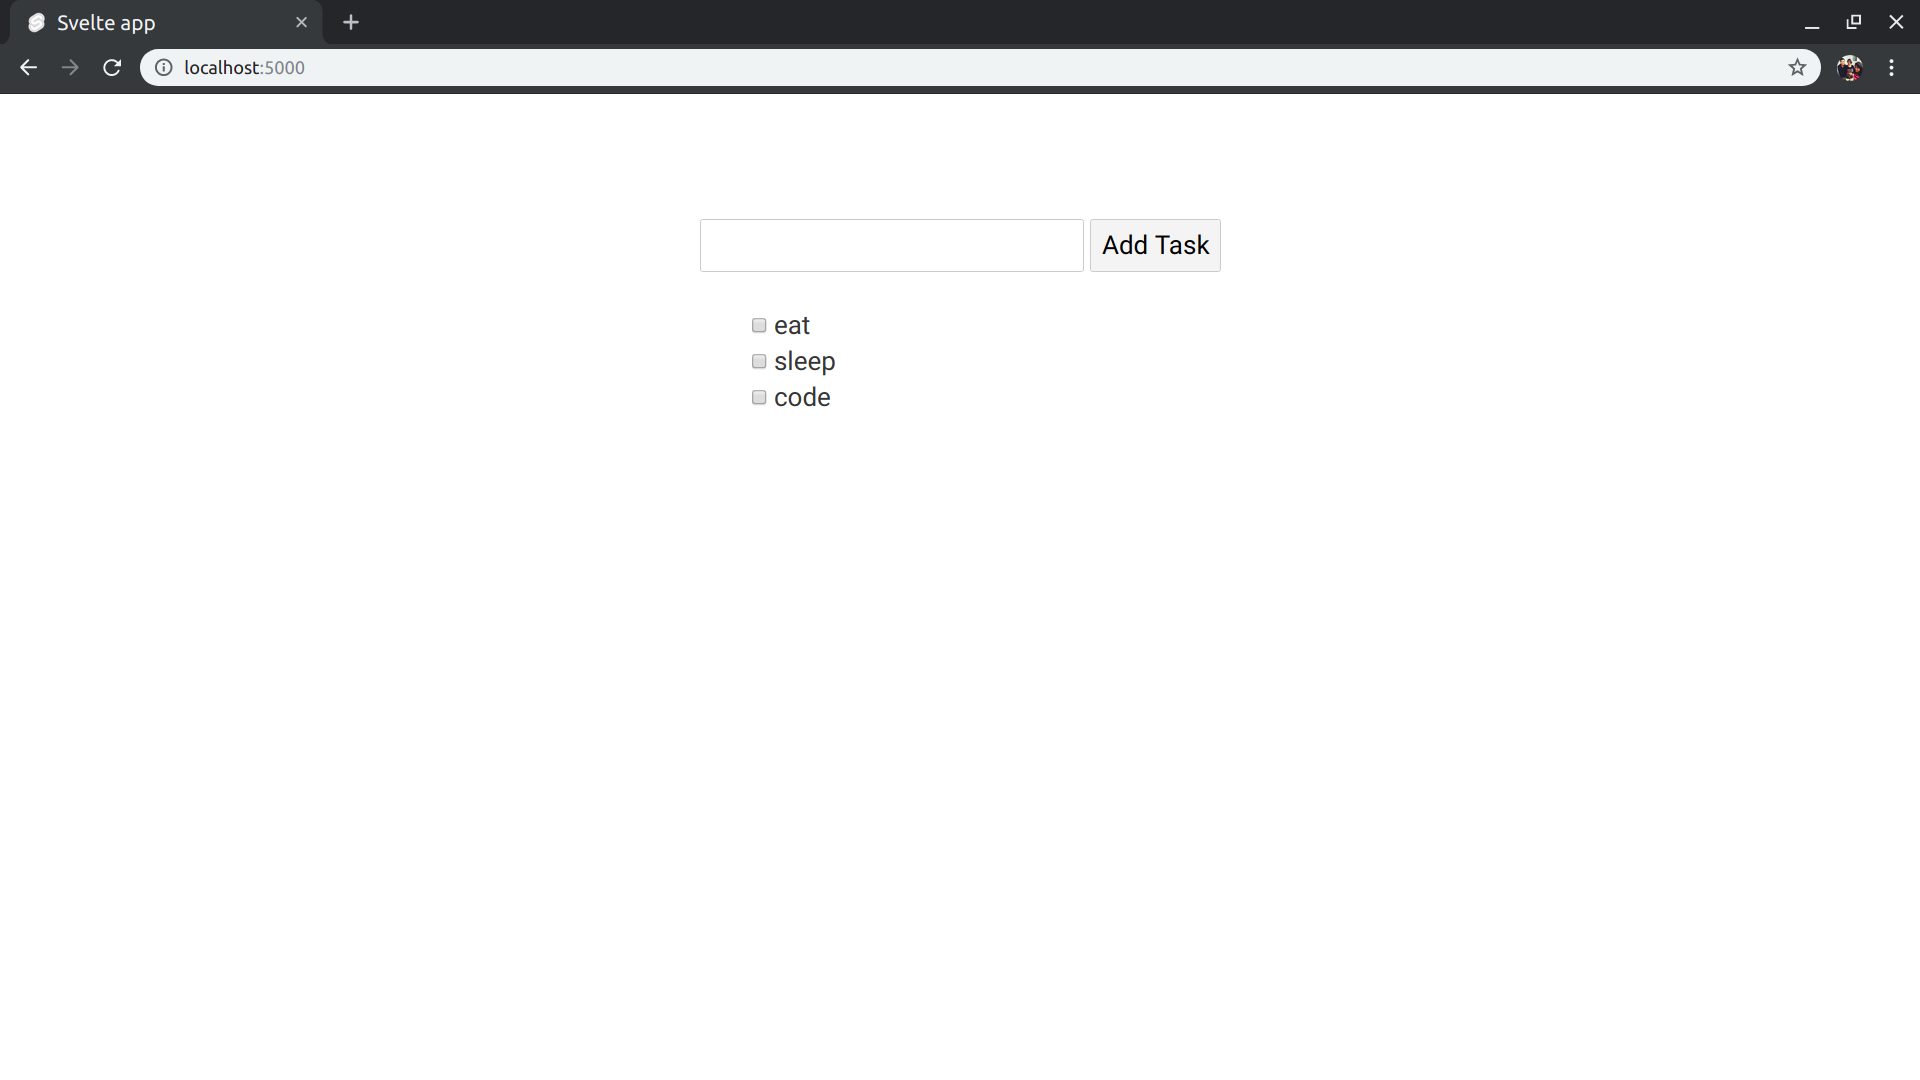
</ul>Now our todo list is nearly done, we can add some global CSS to the public/global.css file.
html, body {
    padding: 5%;
}

html {
   display: table;
   margin: auto;
}

body {
   display: table-cell;
   vertical-align: middle;
}
And your final result should look something like this
To compile the application we just need to run
npm run build
Persistent storage
If you want the data to be saved when we refresh the page we can use IndexedDB to store the list of tasks. The IndexedDB API is not that intuitive, so we’ll use a wrapper called idb-keyval.
Install it with
npm install idb-keyval
Import it in App.svelte, remove the default values in the todo array and then load the array if it is already stored.
// import idb-keyval
import { get, set } from 'idb-keyval';

let task = "";
// Empty the default values in the array
let todos = []

get('todos')
.then(arr => {
    // If the array is stored from a previous session, assign it to todos
    if(arr !== undefined)
        todos = arr
})
Then we need to store the todos array everytime we add or delete tasks from it
function addTask() {
    if(task!=""){
        todos.push(task)
        todos = todos;
        // Store the array
        set('todos', todos)
        task = ""
    }
}

function removeTask(index) {
    todos = todos.slice(0, index).concat(todos.slice(index + 1));
    // Store the array
    set('todos', todos)
    console.log(index);
}
Now the list wont get reset everytime you refresh the page.
Deploying to Netlify
First we’re going to add a .gitignore with a single line-
node_modules
Create a new project on GitHub or GitLab (Bitbucket is also available) then cd to your project folder and run the following
$ git init
$ git remote add origin <git URL of your project>
$ git add .
$ git commit -m "Initial commit"
$ git push origin master
Open Netlify in your browser and sign up for an account if you don’t already have one. Go to your sites and click New site from Git then follow the steps-
- select your git provider.
- Choose the repository that you just created and committed to.
- Under build options go to basic build settings and fill in the following 2 fields:
- Build command
npm run build- Publish directory
public/
Then click deploy. When the deploy is finished visit the site url given in the overview, it should look something like this Demo